How to set up call time management on Android
If you want to manage call time reliably on Android, set up alerts and auto-end first. This page focuses on which settings to adjust after installation so 5- and 10-minute plans are easier to use.
Set up call-time control on Android in one flow
CallTimer lets you configure timing, alerts, and auto-end together.
Basic setup flow on Android
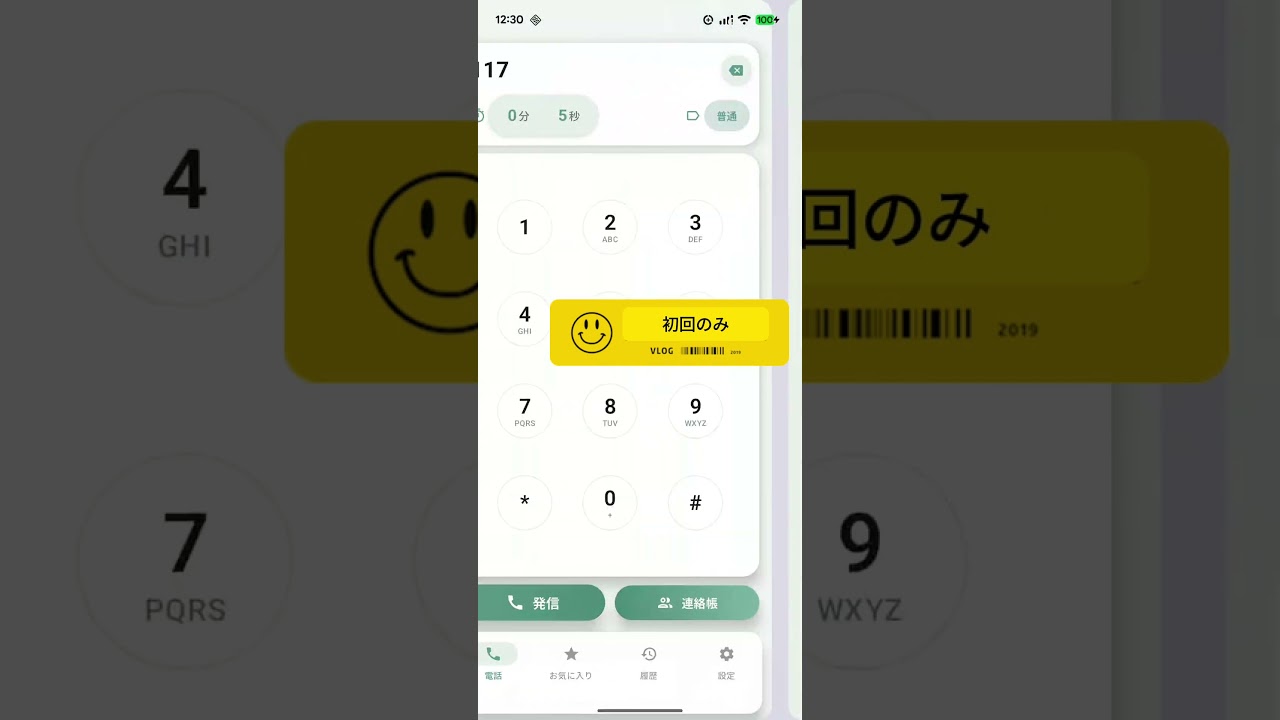
- Install CallTimer from Google Play
- Set the timer to match your plan, such as 4:30 for a 5-minute option
- Decide when to use alerts only and when to turn on auto-end
- Review call history and fine-tune in 15-second steps
Available for Android and iPhone
CallTimer lets you configure timing, alerts, and auto-end together.
Frequently asked questions
Yes. A dedicated app can handle per-call alerts and auto-end so you can manage each call instead of only tracking total daily app use.
Yes. Start with 4:30 for a 5-minute plan and 9:30 for a 10-minute plan, then adjust from there.
Yes. A consistent timer makes it easier to stop the small overruns that add up on the bill.
Start with the Android download
If you want auto-end on Android, the Google Play version is the shortest path. The iPhone option is linked here too.